• Welcome to The Truck Stop! We see you haven't REGISTERED yet.

    Your truck knowledge is missing!
    • Registration is FREE , all we need is your birthday and email. (We don't share ANY data with ANYONE)
    • We have tons of knowledge here for your diesel truck!
    • Post your own topics and reply to existing threads to help others out!
    • NO ADS! The site is fully functional and ad free!
    CLICK HERE TO REGISTER!

    Problems registering? Click here to contact us!

    Already registered, but need a PASSWORD RESET? CLICK HERE TO RESET YOUR PASSWORD!

1996 GMC Extended Cab K3500 DRW Build

83GMCK2500

Active Member
Messages
2,258
Reaction score
18
Location
Beaverton, OR
Disclaimer: It burns gasoline. :hihi:

As the title states:

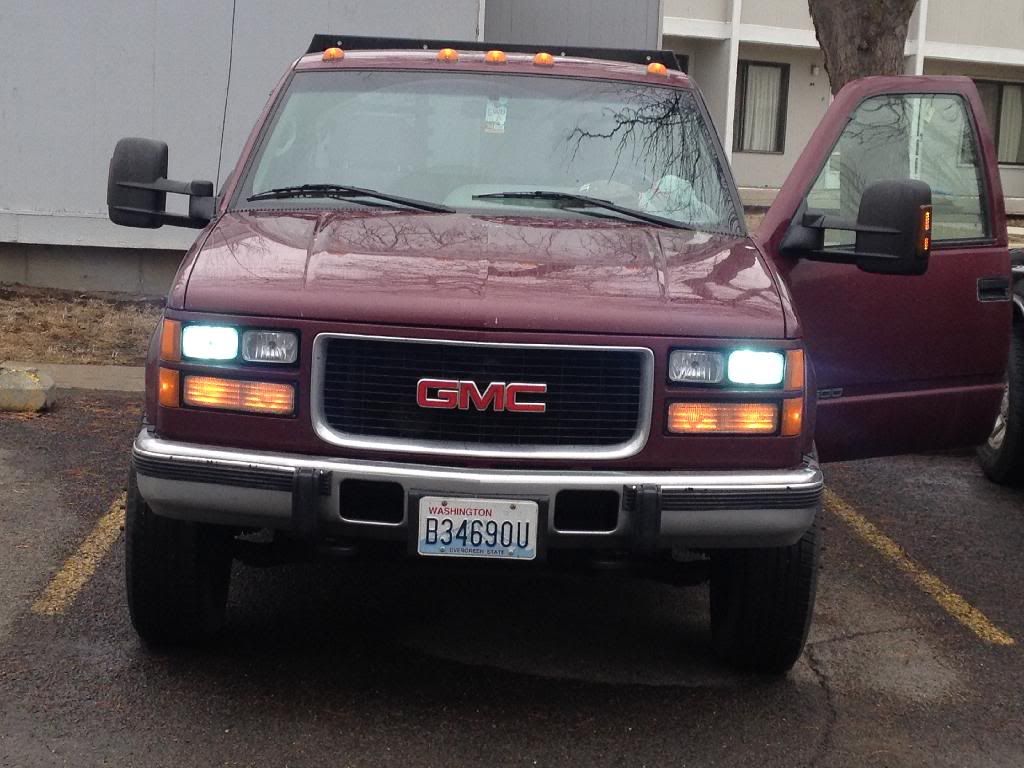
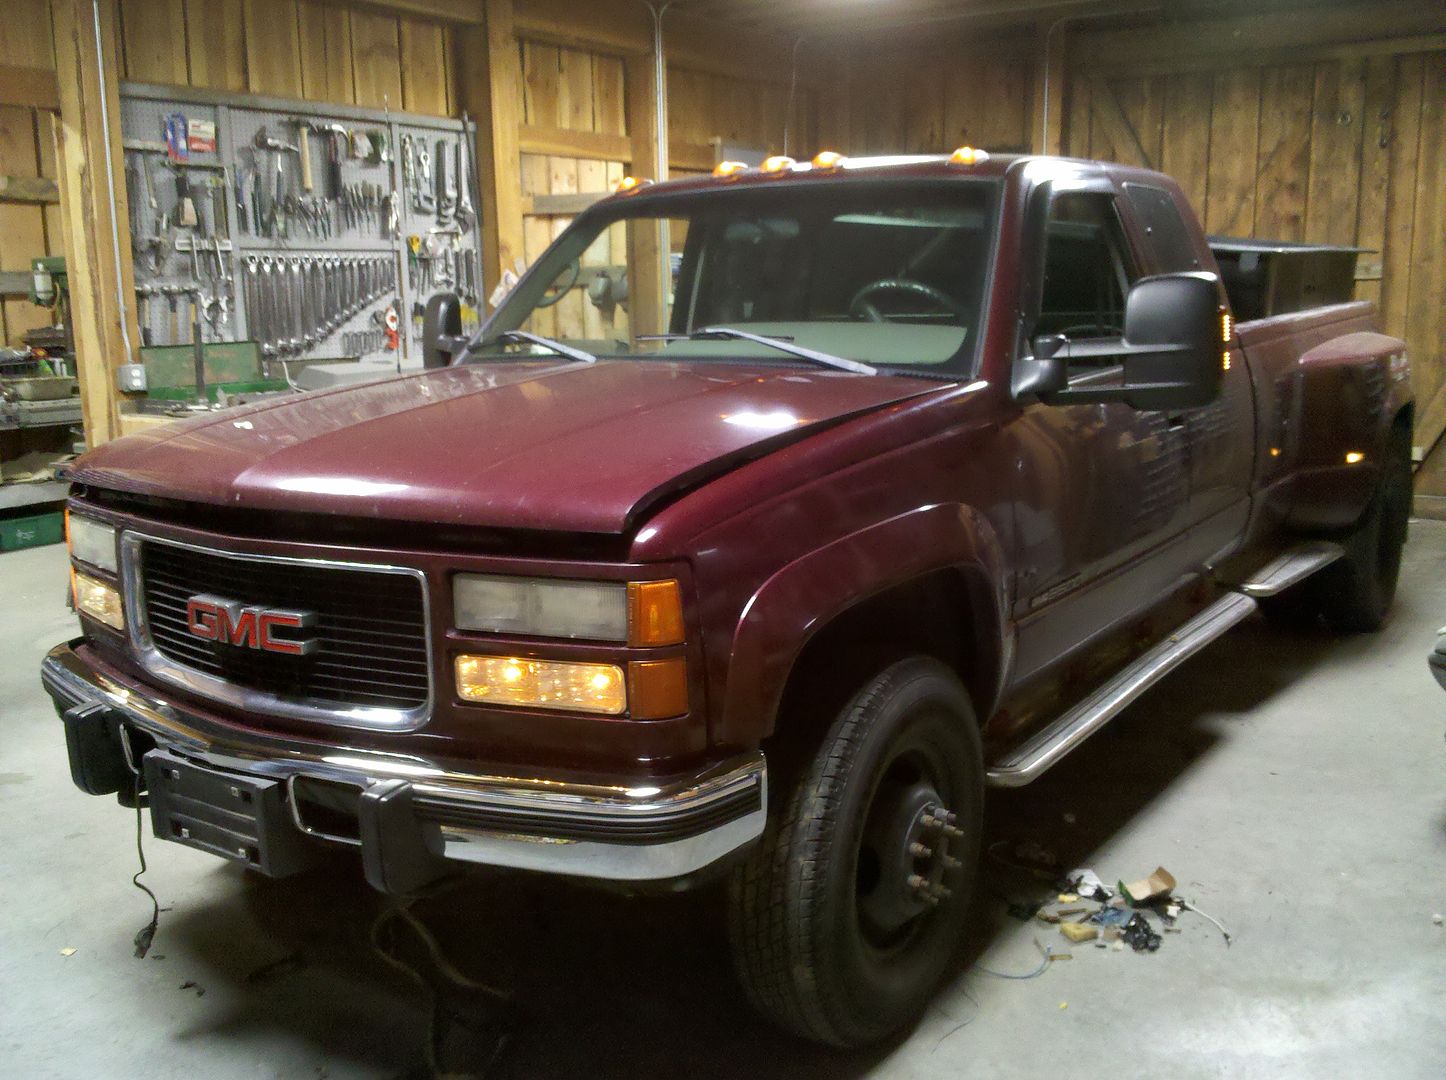
1996 GMC Sierra Extended Cab 4x4 3500 Dual Rear Wheel - 196,### miles
Vortec 454
New Venture 4500 5-speed manual transmission
Borg Warner (something) floor shift transfer case (with this tcase and transmission combo the truck has 3 PTO provisions)
FACTORY 4.56 gears w/G80 in the rear
Chrome wheels that have been painted black
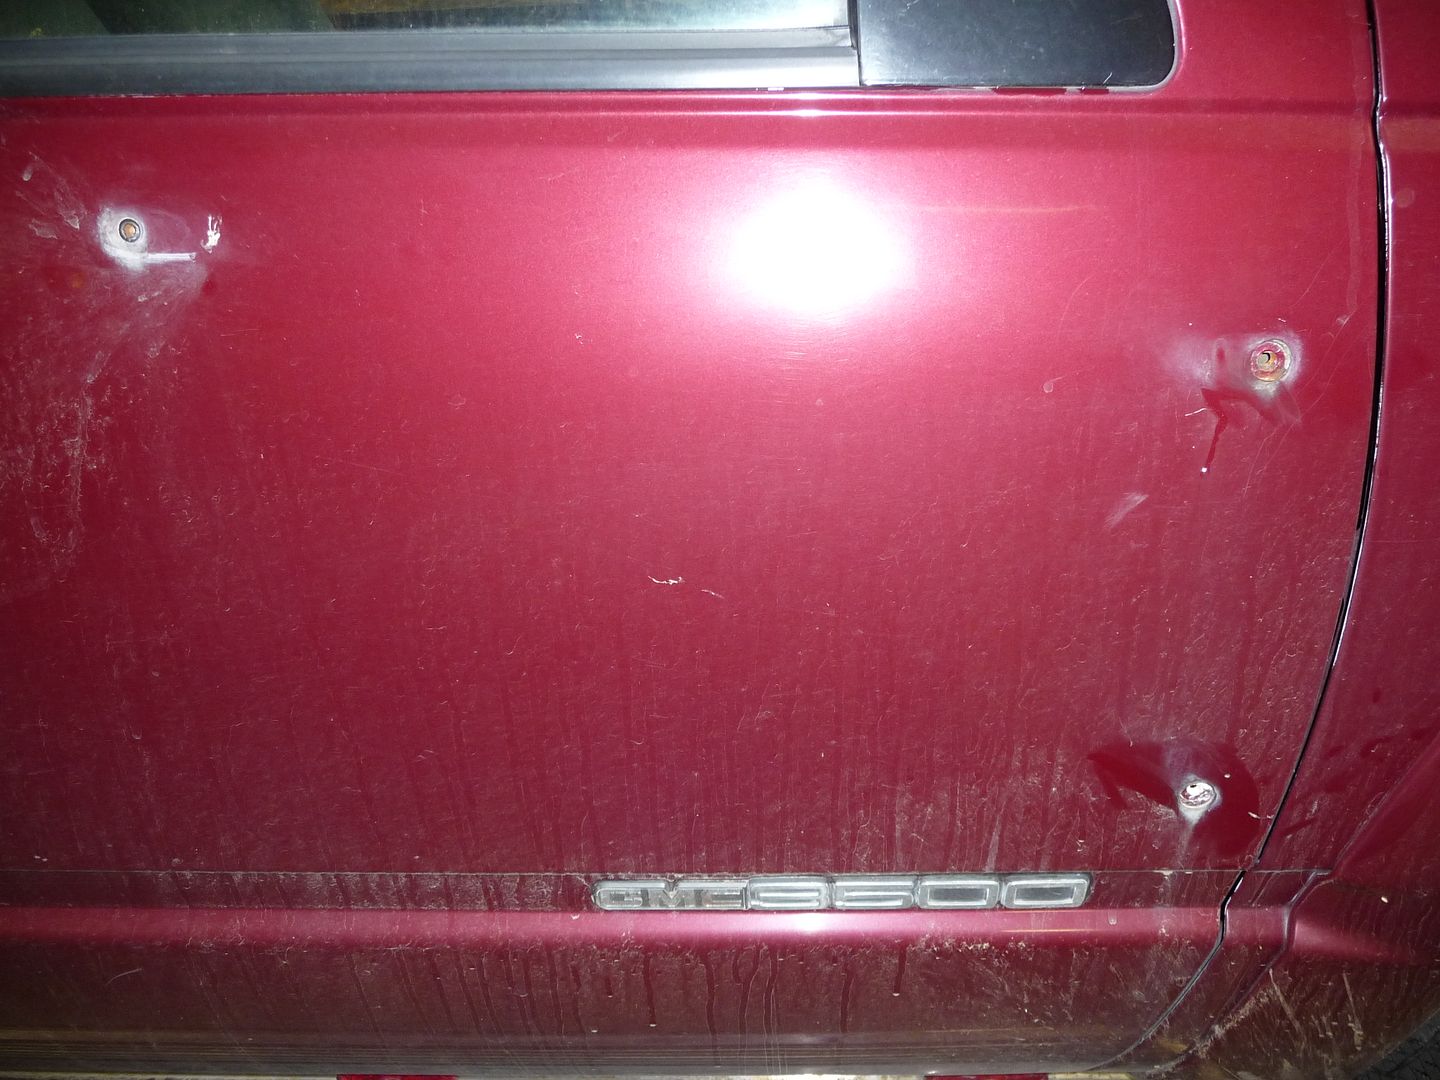
Dark Hunt Club Red Metallic exterior paint
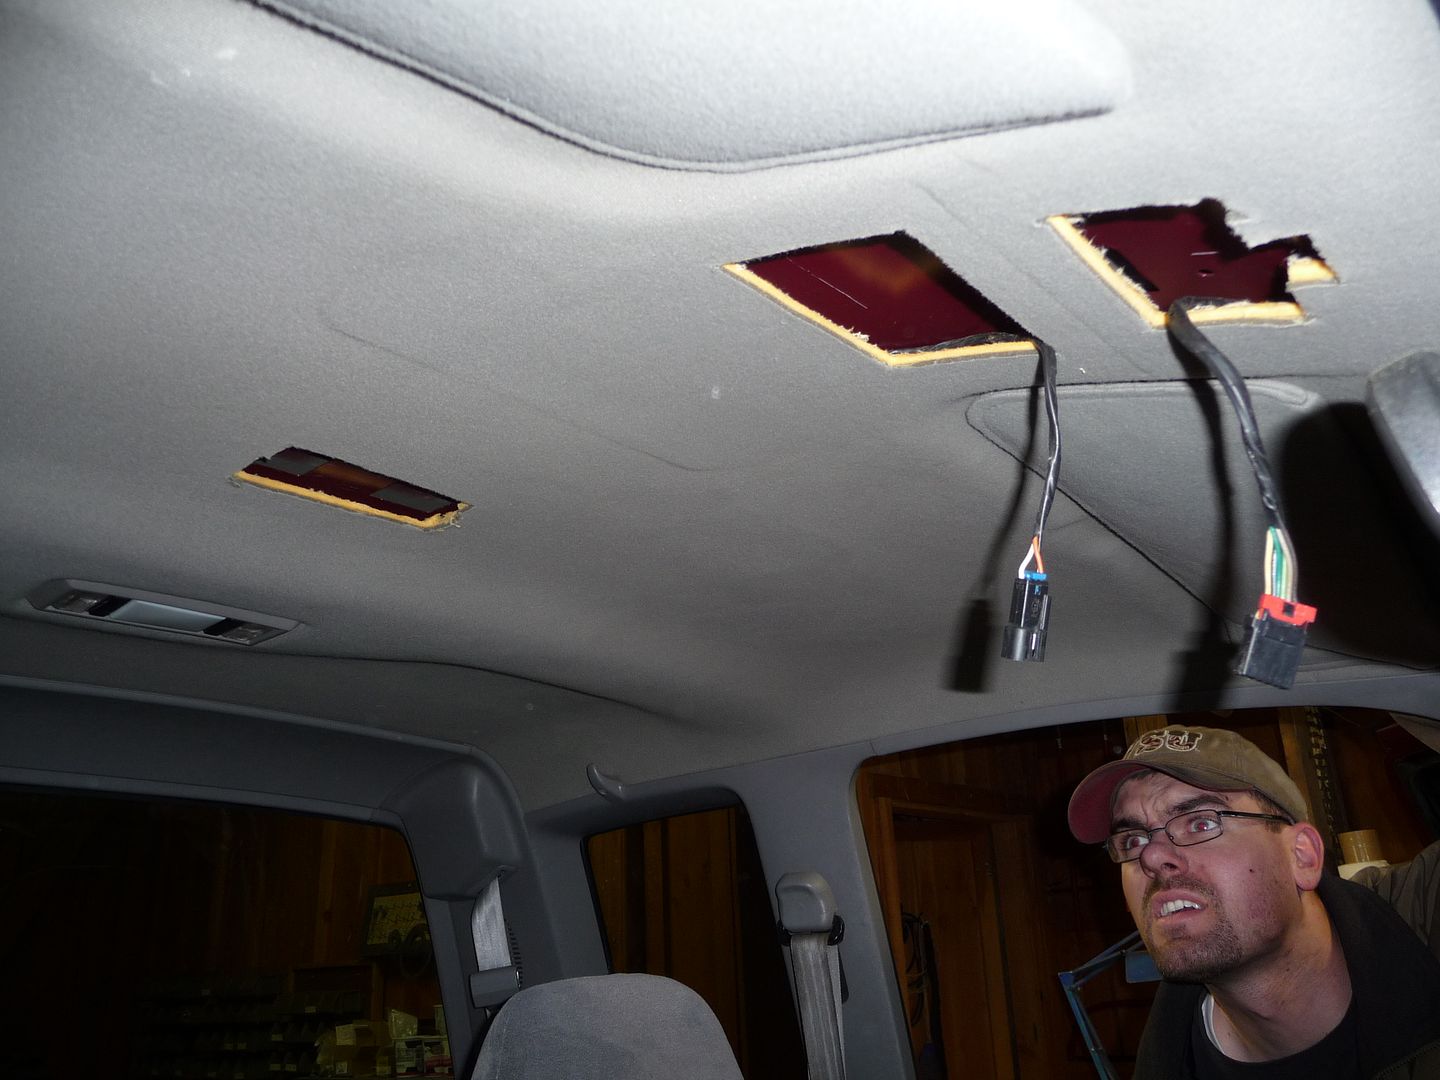
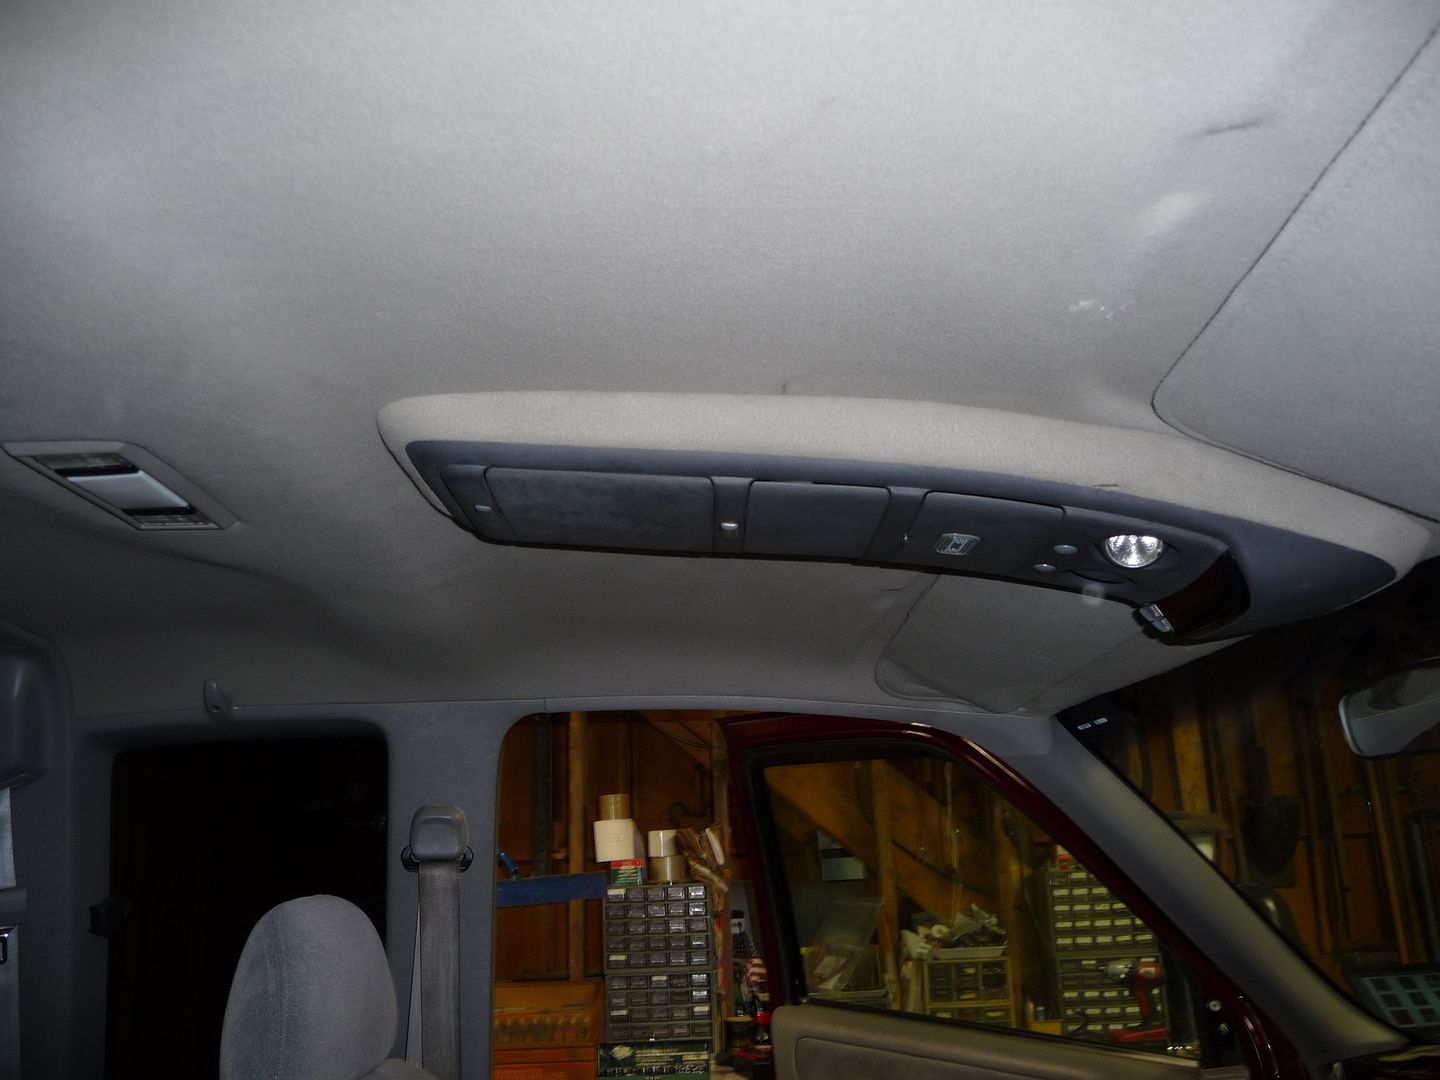
Light smoke gray cloth interior, 60/40 split bench with lumbar on both sides.
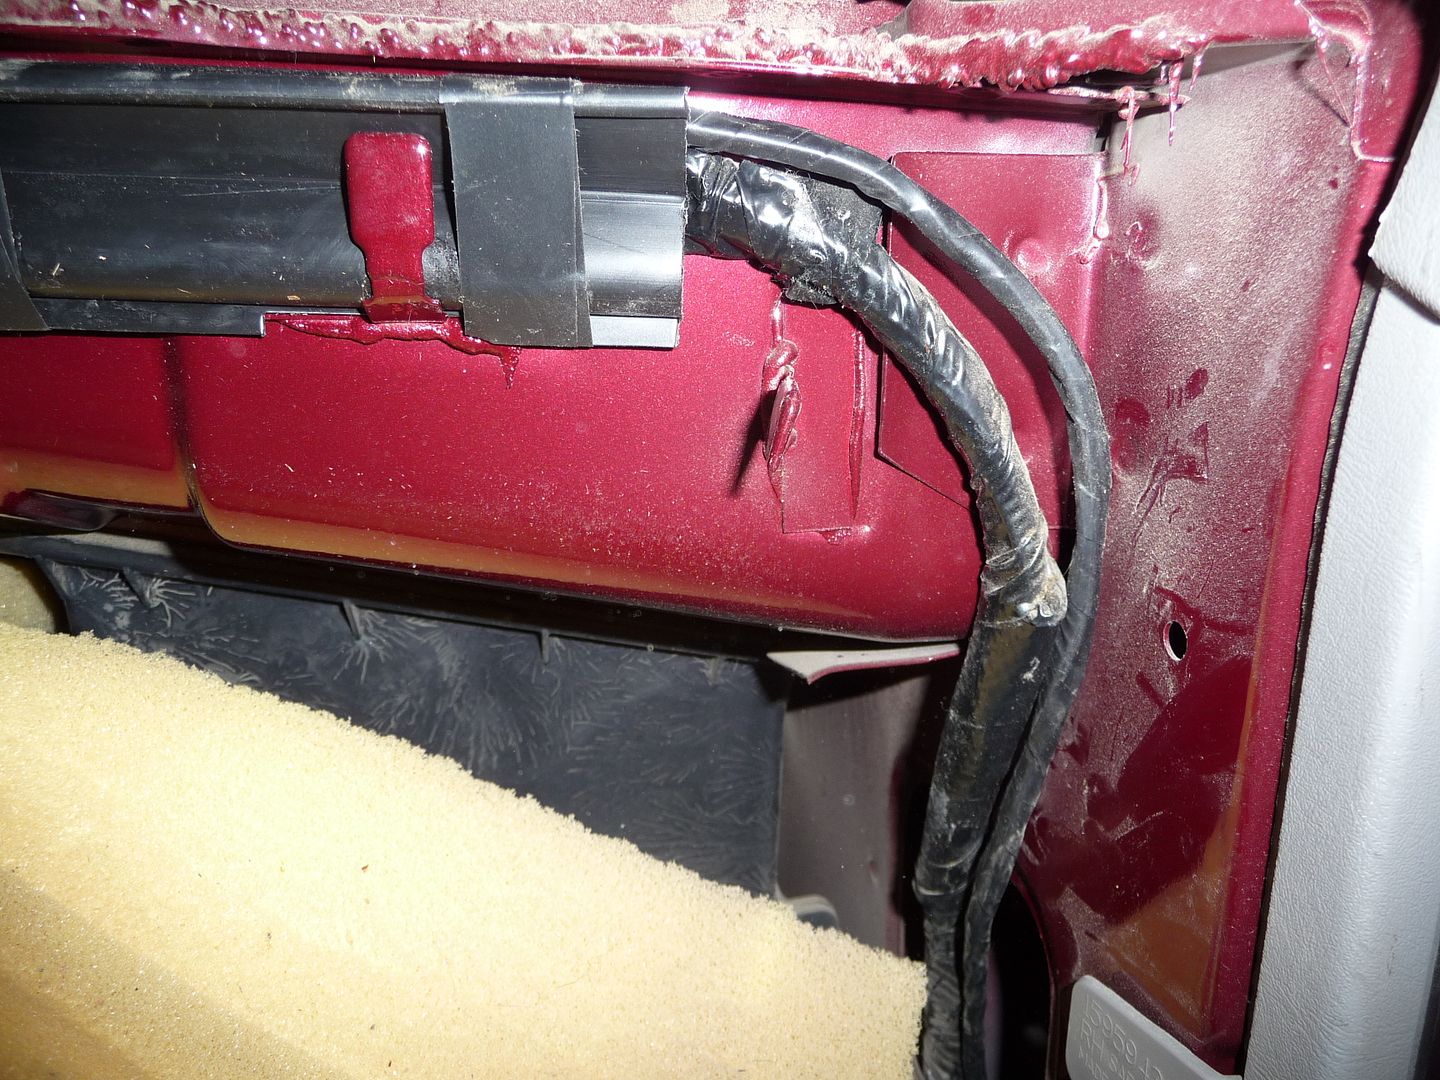
One atrocious analog radio that wasn't even connected, the pigtail had been hacked off.

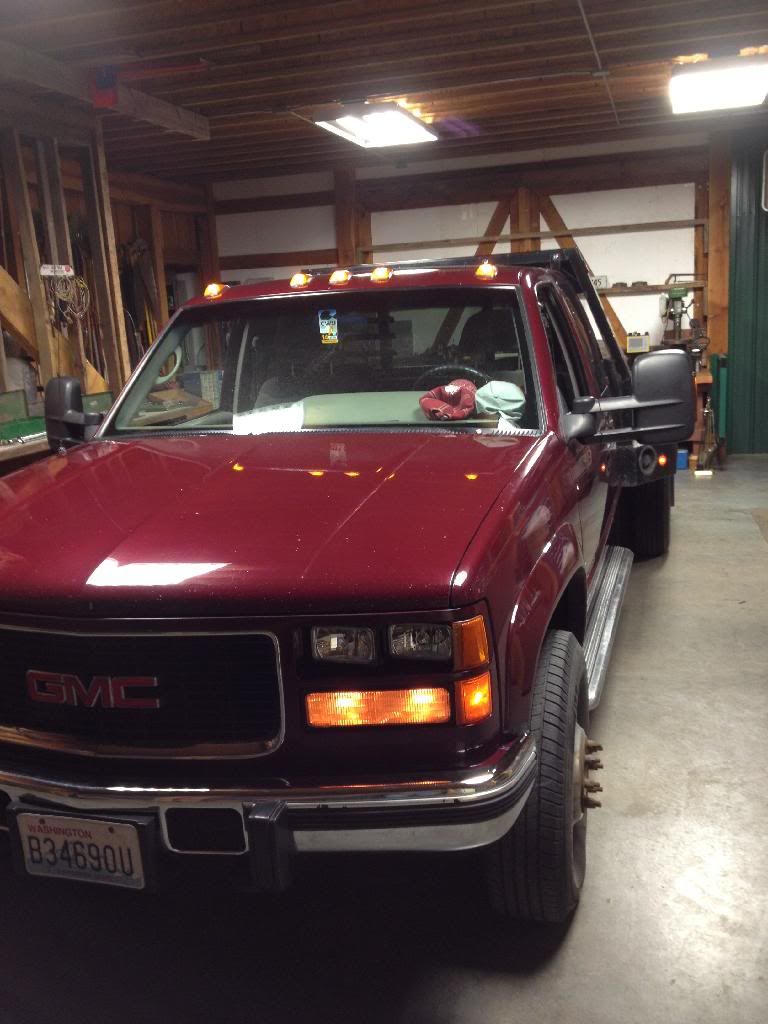
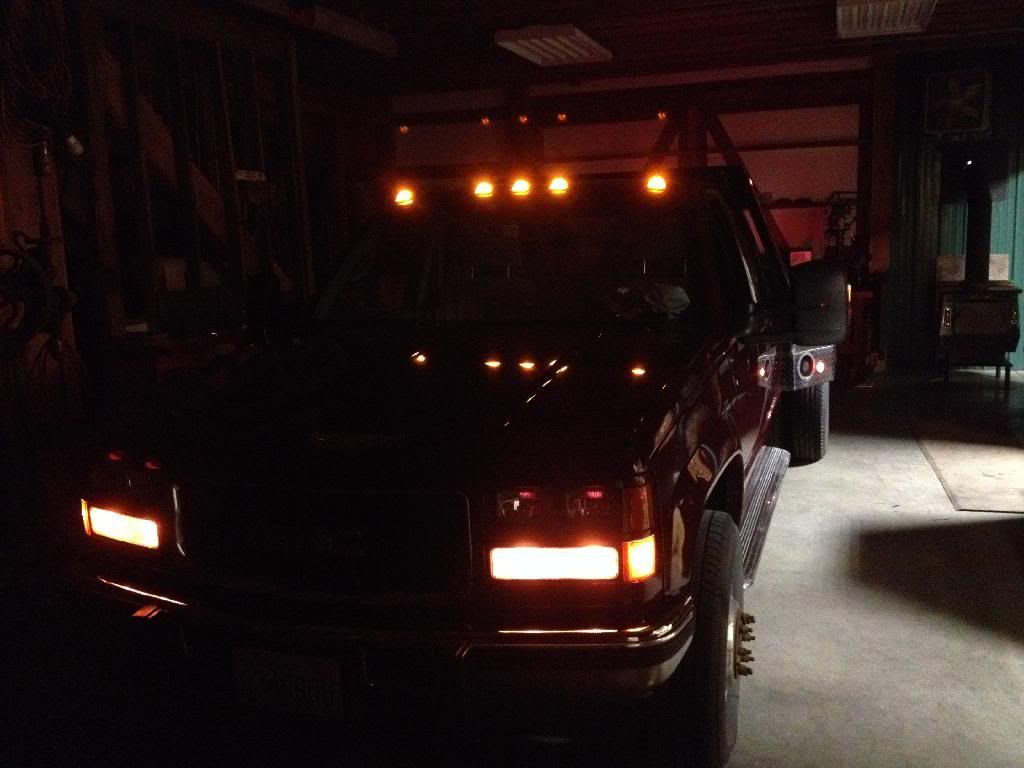
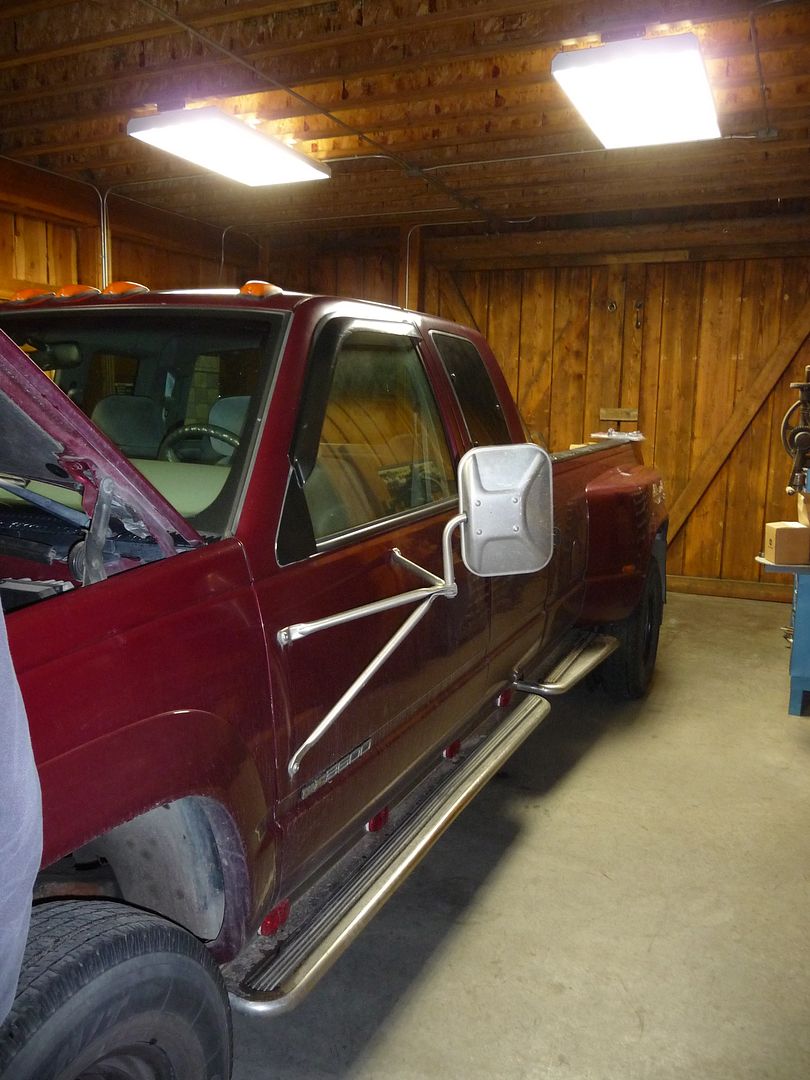
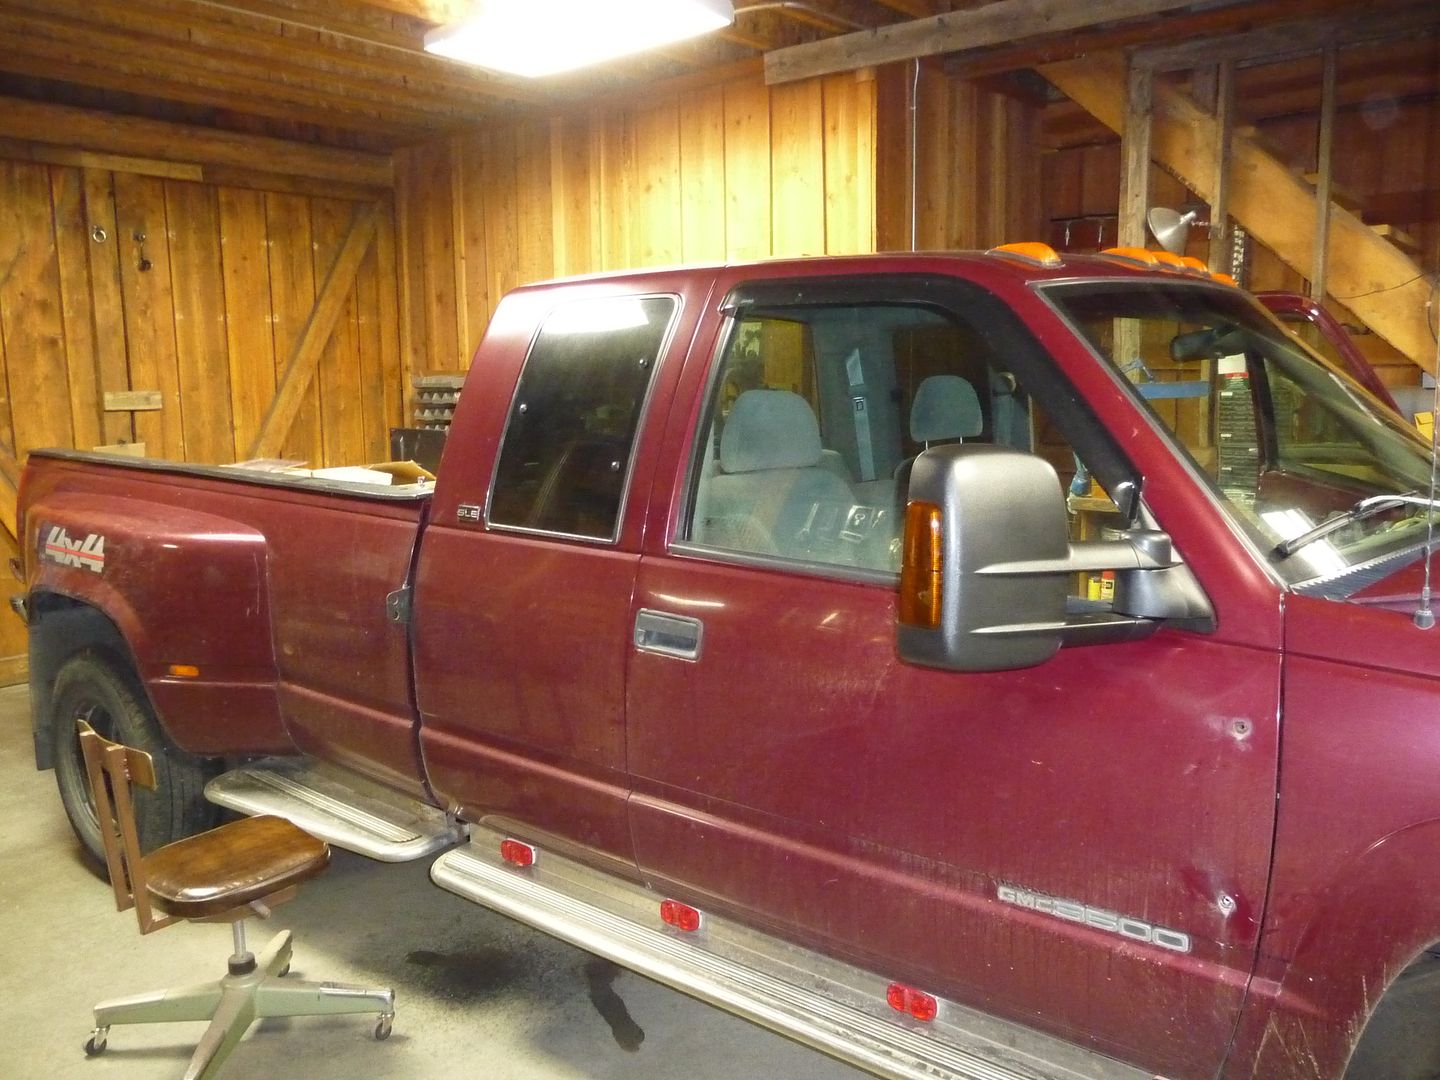
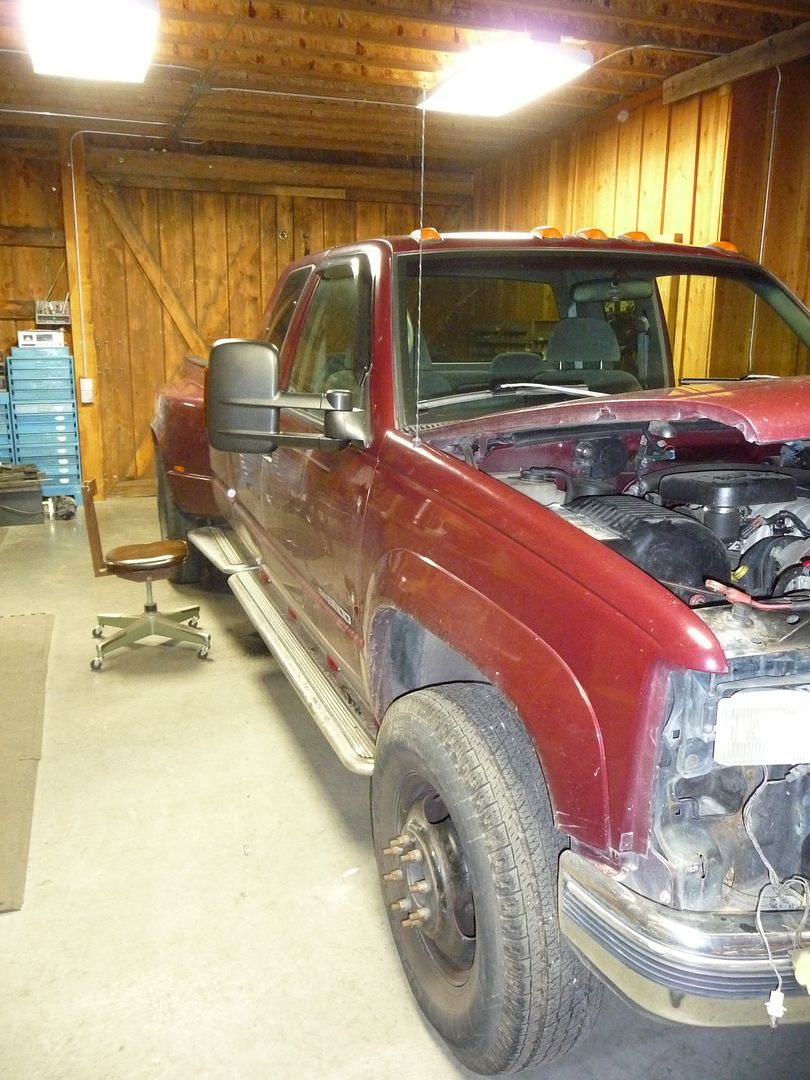
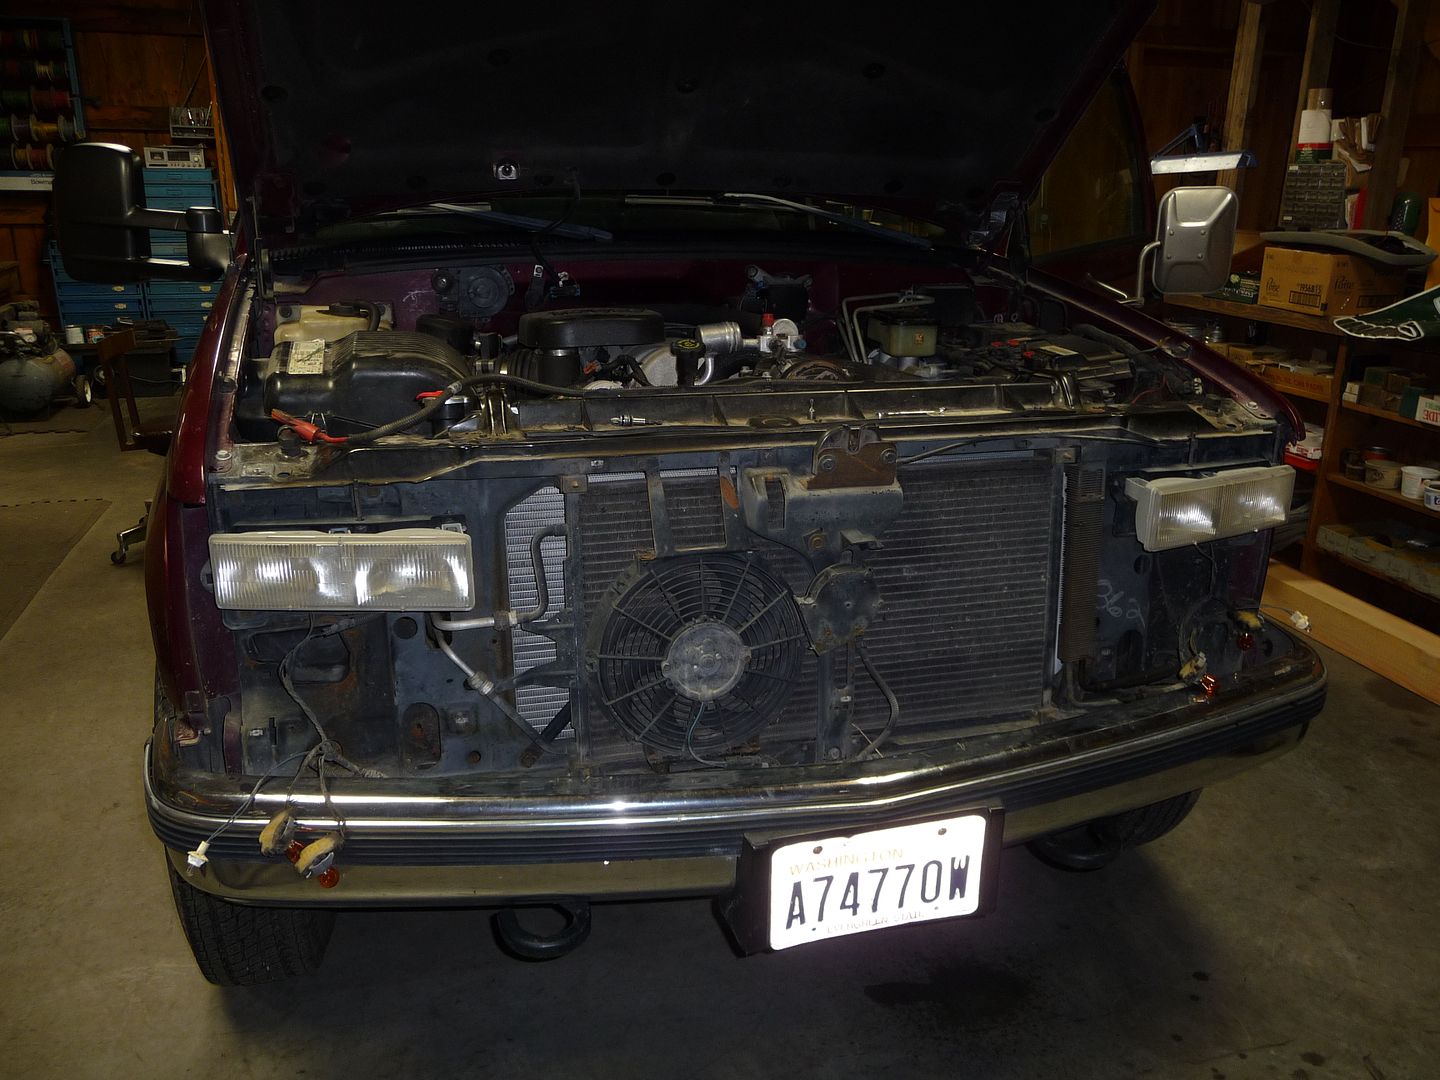
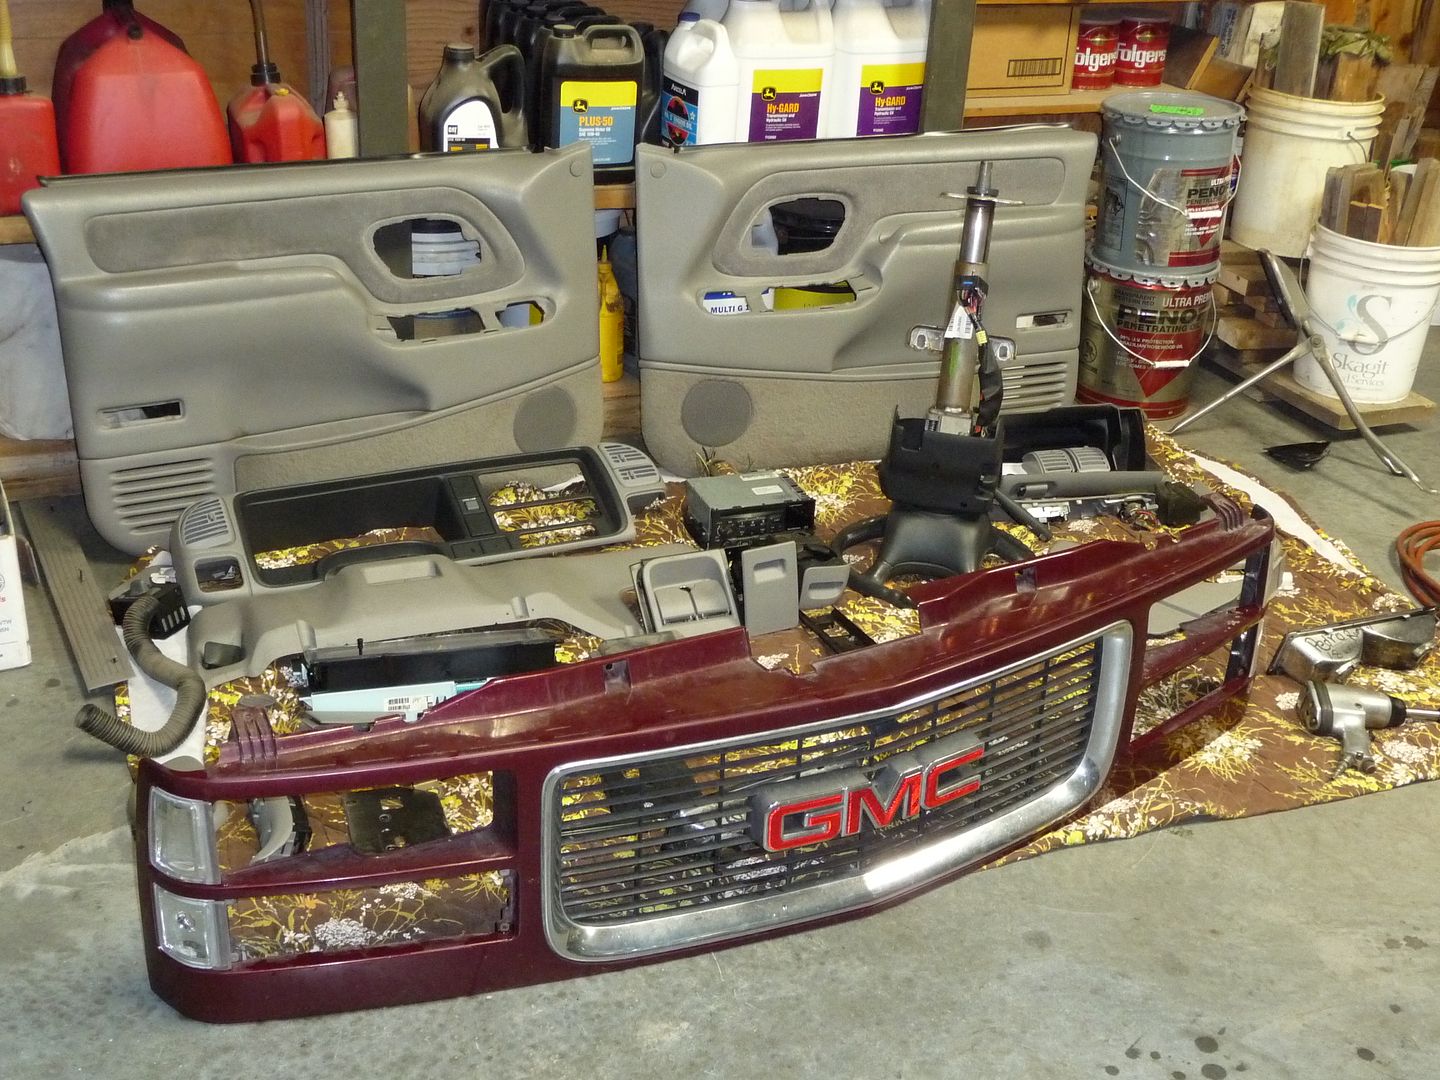
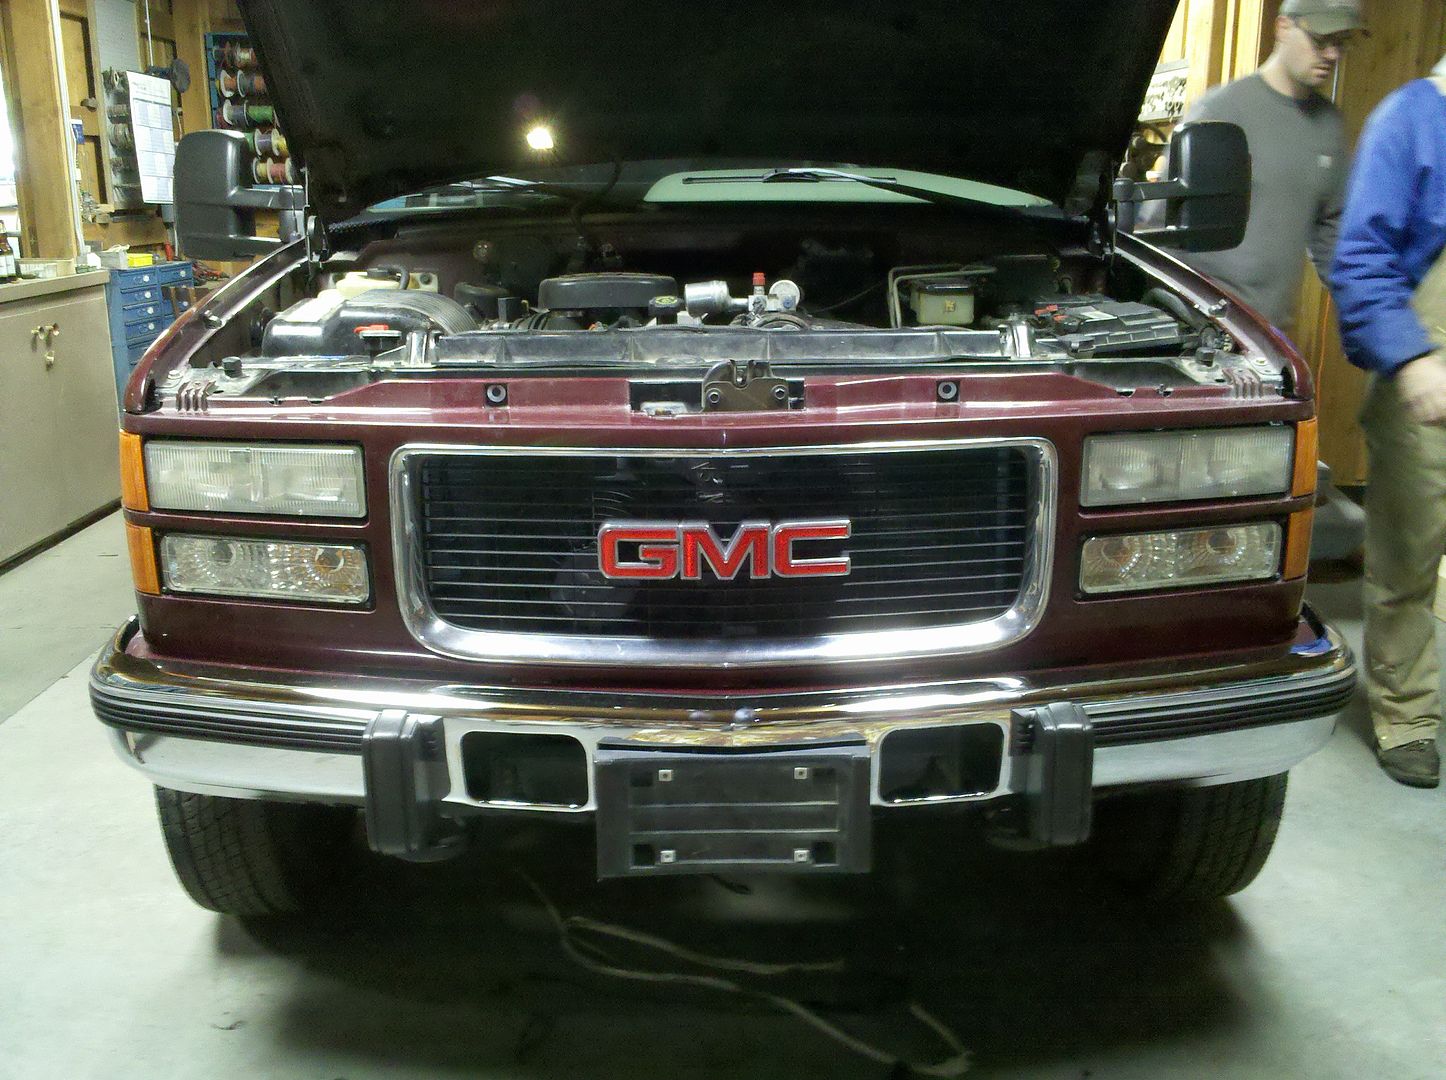
Pictures from the day we looked at it and brought it home. Year should be 2011 from the camera, forgot that it had been reset.
100_1413.jpg


100_1412.jpg


100_1410.jpg


100_1414.jpg


100_1415.jpg


100_1418.jpg


100_1420.jpg


100_1423.jpg


100_1424.jpg


100_1422.jpg


100_1426.jpg


100_1421.jpg


100_1429.jpg


100_1430.jpg
 
Oh, so my dad got this truck as he intends to buy a gooseneck large enough to haul either the D4-7U, JD 3020, or vibratory roller that he recently bought. He wanted the added tires of a dually to do so. This thing was priced right to allow him lots of room to customize it.

Initial plans: flatbed, upgraded seats, fix the dings and scrapes on the cab, polish the paint, fix any oil leaks. (My dad HATES it when vehicles mark their territory.)

My dad ran up to a junkyard in Spokane and picked up full power heated leather seats out of a 2000 Yukon Denali (the spiffy two-tone gray ones) and on his way back David (88GMCTruck) and I met him at a midway point and showed him David's 99 that he's been building. My dad instantly added Kodiak handles, towing mirrors and overhead console w/comp & temp to his list of goodies.

In case anyone is wondering it is consistently getting 12 MPG on the hwy, had it serviced and checked over, everything is spiffy. It's had the radiator replaced recently, new plugs and wires. Spark plugs that is for the rest of you. :p
 
So, after talking with Devin's father, we struck up a deal and I went to work collecting some parts and giving him my input/ideas on what he should/can do.

Last Friday night, Devin and I dissected a GMT400 cross body harness. Instead of swapping the harnesses directly, I decided it would be easier to build a mirror harness (since it requires additional wires anyway) and just splice it in with the existing truck's harness. I also pre-built some additional harnesses for the overhead console, autodim mirror, compass/temp, and steering wheel audio controls. Here is the pictures of that sticky tape and wire mess.
IMG_20110415_204731.jpg

IMG_20110415_204726.jpg


After getting down to Dayton, we tore into the truck. An hour later Devin and I created this:
P1110483.jpg

P1110484.jpg

P1110485.jpg


Installing the mirror harness
P1110491.jpg

P1110490.jpg

P1110493.jpg


And the mirrors
P1110475.jpg

P1110489.jpg

P1110488.jpg


Leftovers from the westcoasters. Does not want.
P1110481.jpg

P1110482.jpg


Getting the stereo plug wired up, as well as the audio controls and overhead compass/temp unit, and putting the dash back together.
P1110493.jpg

P1110496.jpg
 
Installing the OH console
P1110494.jpg

P1110495.jpg


Pulled the seats, wired the truck for the power/heated Denali seats
IMG_20110417_124141.jpg


Cleaning up a bit of underhood wiring
P1110477.jpg

P1110476.jpg

IMG_20110417_124644.jpg


Grille & bumper removal. Wired in the temp sensor for the OH console, replaced the corner lights with OEM amber ones, and installed a new TD bumper.
P1110487.jpg

P1110486.jpg

IMG_20110417_124545.jpg


How we left it last weekend.
IMG_20110417_124221.jpg


Just as a summary, here is what Devin, his father and myself collectively accomplished this past weekend.

- Removed entire dash, door panels, seats and carpet for cleaning
- Wired in mirror harness (truck had west coast mirrors) with power/heated/clearance/signal mirrors. Use factory rear defrost HVAC controls for the heated mirrors
- Installed OH console with compass and temp computer
- Modified map lights to function as dome lights
- Wired in stereo plug (was missing) and installed Delco CD stereo
- Pre-wiring for autodim mirror
- Pre-wiring for steering wheel audio controls
- Pre-wiring for power heated seats
- Cleaned up PO's past wiring endeavors (lots of misc crap that was shoddily done)
- Fixed battery cables
- Fixed wiper washers
- Installed new diesel bumper
- Installed OEM amber corners


And in the upcoming weeks, we will be going back, once more parts are sourced and time allows. Here is the future plans.
- Wire in lighting for bradford flatbed
- Wire 7-way trailer plug
- 4-high headlights
- Fog lights in bumper
- Denali leather seats and grey pickup center console
- Kodiak door handles
- Stainless trim rings & GMC center caps.
 
While David was working in the truck I was underneath removing what I shall politely refer to as "cowboy wiring". The trailer harness was fubared beyond belief, those extra running lights on that scaffolding were hacked into the REAR DUALLY FENDER clearance lights. There was a pair of CB antenna mounts in the front corners of the bed with ~6' of coax still attached that I removed from underneath. The driver's side coax was pinched between the fuel tank and crossmember, had to lower the tank to extract it. Additionally the monkey that installed the antenna mounts knocked some BIG holes in the bed corners and then filled them in with great gobs of silicone.

I also pulled the batteries, pulled the trays, cleaned and painted the primary tray, cleaned and made the battery cables proper, ran the wire for the temp sensor, and lots of misc things.
 
the only thing that I am amazed more about than you guys' awesome craftsmanship, is the 454 with 4.56s getting 12mpg! 5 must be the magic number...5speeds that is! :)

I take it door skins are in order to fix the west coast mess? if so, how much do they run roughly? I am looking at getting rid of my campers on the 99 and doing door skins.
 
I'm not sure what Mike's (Devin's Father's) plan is for the holes exactly. He has a body shop he takes all his vehicles to, and am unsure if they are going to do skins or just fill the holes.
 
Last time I spoke to my dad he had not decided on how he was going to patch the holes in the doors. Since it will venture to the body shop at some point my dad will probably discuss the options then.
 
Update:

- Steering wheel audio controls installed, after some *cough* minor troubleshooting they work great. Sooooo handy. Also, so much nicer to use a puller on steering wheel as opposed to brute force. After removing three (or four) by hand, I'm done with that crap.

- I've noticed that at low speeds if I need to stab the brakes (pedestrian/grandma/idiot/etc) the steering wheel pulls left. It brakes evenly from higher speeds. This weekend I started in the front and dug in. Wheels off, first observation: driver's side has uneven pad wear, ~ 1/8" difference in-out. Passenger side, also uneven, call it 3/16" in-out, noticeably more than other side, but not a great deal. Started on the DS, pried the caliper over a bit to compress the piston, pulled the pins, pried caliper off. Got a good look at the rotor, noticeable ridge on both in-out faces at edge, slight waviness when running fingers from inside diameter out. Pulled the pads off, they're a mid-grade semi metallic pad, other than uneven thickness they looked good, not worn unevenly by themselves and no cracks. Bolted the caliper back up, won't slide. Not even a little. Hmmmmmmmm. Was able to free up one of the slides, took a wire brush and a file to the faces of the bracket ears and the caliper edges and cleaned them up, but one slide remains seized. Fought it for quite a while, didn't have a c-clamp or anything to use as a press, unfortunately. Don't know how something can get so stuck in a rubber sleeve. Cleaned things up the best I could and lubed what was accessible. Onto the passenger side. Repeated same procedure, findings: rotor has a much heavier ridge on the outer radius, also, noticeably more distortion on the faces when running fingers from inside diameter out. Again, other than uneven thickness, pads were ok. Felt the sleeves on this side and they actually moved, stiffly, but they moved. Bolted the unloaded caliper up and even with mobile sleeves it drug hard. After much filing and brushing between bracket ears and caliper it slid decently. Lubed what I could and reassembled. Thinking on heading home to Dad's shop this next weekend and pressing that other sleeve out and cleaning it.

Summary brake observations: calipers, rotors, knuckle, bearing flanges, etc all have healthy level of rust/scale/grime on them. Given the environment this truck has been in I assume these parts have not been changed for quite some time. Given how much material is left on the pads +/- 5/16"-3/8" (relatively fresh) I assume the last brake job was to throw a set of pads on. I doubt the rotors were turned. The passenger side caliper had newer sleeves than the one I was able to remove from the driver's side. All of the slides that I was able to hold in my hands look to have been overtightened, the ends were slightly mushroomed. Never made it to the rear brakes, was raining and after messing with front and rotating all 6 tires/wheels I was soaked.

The above text was written 02/25/2014...sorry for the late update guys!
 
Last edited:
Lighting Upgrades!!!

A year ago, now, I cleaned, lubricated, and installed a set of 88/89 dual sealed beam adjusters. I loaded the adjusters with the conversion lenses that LMC sells and 4,300K 35W HIDs. Utilizing a GM PDL relay (6-pin, two relays w/common pwr/gnd) and a diode I wired up a temporary relay switched 4-Hi harness.

HIDs in 88-89 adjusters.
BE9E484B-B646-49E1-960C-908C6E0C8E1B_zps2491f1b5.jpg


8ACE83DF-2202-4DF8-A9ED-BE101208AF54_zpse5752fde.jpg


BA42B2DC-F134-46EC-ACDD-1CAC35B787CC_zpsb89bd178.jpg


7D4D2917-517C-4BEE-8048-D676C886DF07_zps24d6c6e6.jpg


8E8F17E6-8C37-4E57-A0A1-F0B4E24150B2_zps38a7a737.jpg
 
Slightly less than a year ago, the less-than-temporary headlamp harness was created. With the help of my good friend David (88GMCtruck) we removed the OEM harnesses, dissected the BS headlight wiring, and re-created them using all 12-gauge wiring. During this time wiring for fog lights and driving lights were added. We used 4 heavy duty Bosch relays with weatherpack connectors to power the circuits, lowbeam, highbeam, driving and fog lights. The highbeam switch will trigger low, high and driving lights for a 6-hi combination. The fogs are independently switched. Everything is fully soldered and weatherproofed.

9157DED2-36E7-4F1E-8865-62E96B2D0437.jpg


After dissection
07EBCD31-CD61-42B7-82A3-8BAFE85AE035.jpg


All new gauge leads.
47B6EC31-8EEB-49F2-8782-918131C0A267.jpg


Wiring
B3B89356-A99F-4645-B388-048633717C18.jpg

Laying out relay sockets
78B28862-D54C-4965-9405-FA937113C787.jpg

Yellow leads on relays will be triggers, here is the highbeam trigger with diodes for triggering low & driving lights.
1A082703-A10F-413A-A880-D0C6A8D53EFF_zpsuu0b1iji.jpg

One of the completed relay socket sets, this one had orange trigger wires.
F1D08F12-9E28-42FE-8337-B761D541385D.jpg

49D531D7-C531-4C08-8D2D-1E6C6B4C4471.jpg

1E77D2B6-DB17-4BBD-B882-9719201487A4.jpg


Relay mounting under the ECM
0AEF2504-2D54-4DC9-8D73-F404094607DD.jpg


Completed harness
EA1E5902-91E3-4EAC-BC3A-646133DB4732.jpg

C59EA590-0B16-410A-814A-E32CA45EB6C7.jpg


After adding the harness
89094E0B-D7F1-4A90-848F-85C0AADFCFB7.jpg


***Disclaimer, some of these pictures were taken by me, the rest by David. This upgrade was simultaneously performed on two trucks, his and mine. The text above has been edited but the body of it are his words. (I'm being lazy and copying from his thread, elsewhere.)

I am exceedingly lazy and copying my post from another thread. The timeline of this upgrade would've been the same as his...
 
Last edited:
Last spring I took the time to hit the truck with some heavy cut, fine cut, then cleaner wax. The sides need some more work, but it sure beads water on the top.

7A7CA7FF-6A41-4F67-AB97-CD50985E3A8A_zps587a85db.jpg

B5C2402D-184E-4E80-92E7-6C25CA305B2A_zps1b7893dd.jpg


Also, installed OEM LED cab light bulbs.
C3D7D47C-1E4D-448D-91C7-50338913088D_zps30098709.jpg

7BDBE830-F15D-4E1D-BE96-5FE65F1B3054_zpsacfa488e.jpg
 
Two years ago my dad and I scrounged some local yards and picked up a set of handles with rods off of a 95+ 3500HD. They were chipped and weren't looking to hot, but go figure, they still worked great. Disassembled and dropped off at a local powder coater, we picked them up this spring and I installed them about a month ago.

Disassembled:
97A93D2C-DEB4-4EDD-AB33-98F7D478B440_zps34dde0e1.jpg


Coated:
4E0CB4E9-E1ED-4E4F-A2BC-B2753ECB3B04_zps88c2c103.jpg


The coating was pretty thick and I had to take a round file to the saddle that the paddle sits in, and the slot adjacent to it. In hindsight I should have masked off some areas on the handles, but not having any p-coating experience myself... :/
 
I do have a big update coming in the near future. Just maintaining it really:
  • Installed more versatile trailer socket, upgraded brake controller, improved bed-chassis electrical connections.
  • Replaced cruise control servo.
  • Replaced oil pressure sensor.
  • HVAC fan control switch & resistor.
  • Wiper motor pulse board.

I was having a random short/feedback issue with my bed lighting and trailer lighting, I traced the problem to a hideous hack job of wiring from the people who installed the bed. There was a half-mile of electrical tape, some wire nuts, some more electrical tape, some zip ties and a portion of the pickup bed wiring used to connect the bed and trailer socket to the chassis. Ohhhh heeeeeeck no, that won't do. I spliced in the 7-pin Pollak connector that GM uses on the GMT-800 and newer trucks. Ref:
PK11998_500.jpg
Though I did not use butt connectors...soldering iron...lined heat shrink. I hate doing this kind of thing twice. I incorporated the 12V feed, brake controller, and reverse lights as is done on the newer trucks. The bed plugs into the chassis and on the bedside of the connection I have a secondary pigtail which plugs into the trailer socket. If the socket fails I can unplug it and replace it; if I need to pull the bed, it's one plug, one ground strap and the fuel neck. The new (to me) brake controller is a Tekonsha Prodigy, and the new socket:
HM40975_1000.jpg


At first my cruise control servo was kicking out when I went over a large enough bump, the kicking out evolved into a really obnoxious surging of the throttle at times. The servo is the same for many many different GM vehicles, it isn't 454 specific or GMT-400 platform specific. The part that IS specific to my truck and engine is the cable, thankfully it takes 30-45 seconds to swap the cables.

Ughhh, the oil pressure sending unit. The devil incarnate. I moved my truck a very short distance and noticed a couple drips of oil on the ground. Not good, everything has been replaced recently: lines, cover seal, main seal, pan gasket, ev-er-y-thing. The truck does not leak. So when it leaked, I started looking. It honestly took a while to find, the leak got pretty bad. It appears that internally the oil pressure sending unit failed and allowed oil to leak through the body of it. I had oil pumping out the weatherpack connector at the top of it, running down the sensor, to the top of the block, and diverting down two different ribs of the bellhousing and finally onto the exhaust crossover. Viewed with truck running, laying across the engine with mirror and flashlight. There is a specialized 1-1/16" socket with very thin walls designed for these sending units. Get one. The sensor to block clearance at the back of the valley requires it. I ended up snapping the plastic portion of the old sending unit off and unscrewing the base with a ground down standard socket. Install went very smoothly with the proper socket.

To Be Continued...
 
Back
Top