- Staff
- #1
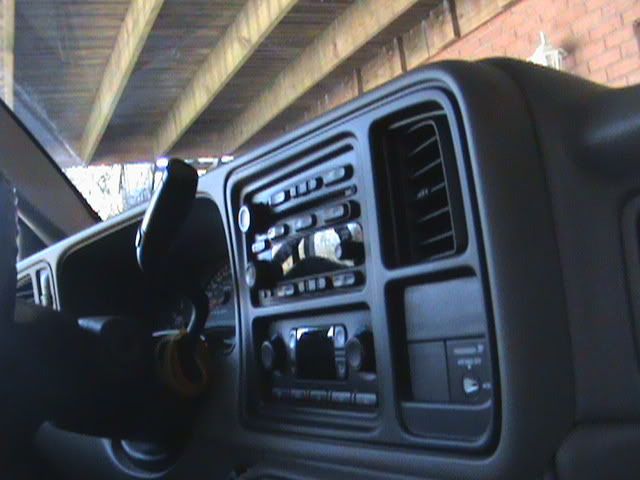
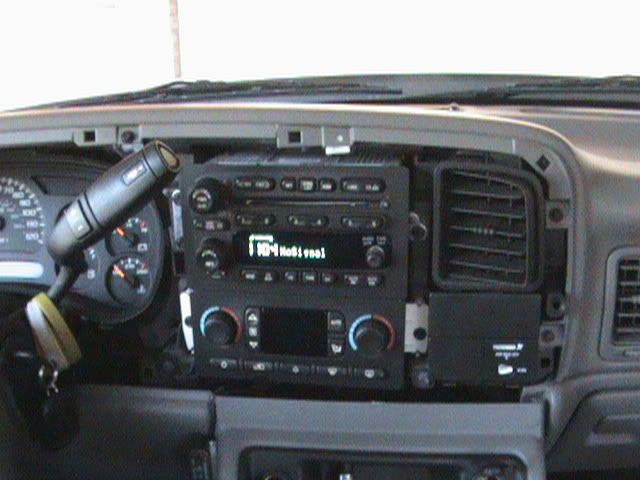
I've put together and article on how to install a aftermarket radio in your GM truck. In this article I've used the new Alpine IVA-W505.
There will be various adapters you will need to keep your factory Onstar and Bose speakers working, as well as your steering wheel controls working.
The Following is needed:
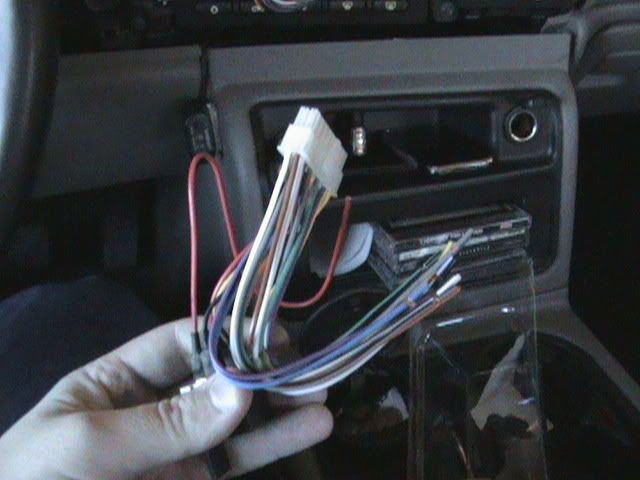
PAC OS2BOSE- For truck's with Bose and Onstar and to retain each other working. When using this, everything is plug and play. You just have to connect(wire in) your new stereo's wiring harness into one side the this adapter.
PAC SWI-Jack- Retains your factory steering wheel controls with a aftermarket radio
SCA-100 - Adapter for the Sirius programming into the radio (this adapter is for my radio specifically).
SC-C1- Actual unit for programming into the SCA-100
PAC TR-7-Allows you to play video and adjust audio and video setting in your unit. I would recommend this (although it is against the laws), it saves your the trouble of wiring the aftermarket unit INTO your factory harness under the dash
There will be various adapters you will need to keep your factory Onstar and Bose speakers working, as well as your steering wheel controls working.
The Following is needed:
PAC OS2BOSE- For truck's with Bose and Onstar and to retain each other working. When using this, everything is plug and play. You just have to connect(wire in) your new stereo's wiring harness into one side the this adapter.
PAC SWI-Jack- Retains your factory steering wheel controls with a aftermarket radio
SCA-100 - Adapter for the Sirius programming into the radio (this adapter is for my radio specifically).
SC-C1- Actual unit for programming into the SCA-100
PAC TR-7-Allows you to play video and adjust audio and video setting in your unit. I would recommend this (although it is against the laws), it saves your the trouble of wiring the aftermarket unit INTO your factory harness under the dash