
88gmctruck
02GMCtruck
Here is the procedure I used to candy (remove the amber) from my tails on my 2002 Stepside. I also converted the newly red turn signal to operate as a parking light as well, information on wiring that up can be found here. http://www.thetruckstop.us/forum/showthread.php?t=18327
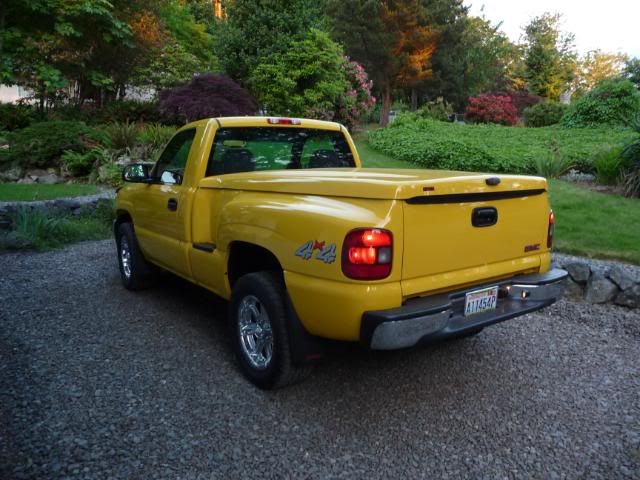
Stock lights
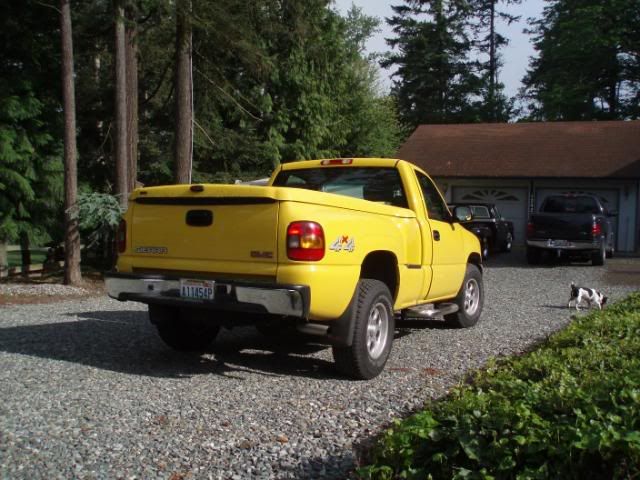
First off, I don't care for Amber turn signals. I don't so much that I did this mod within the first 6 hours of owning the truck. I have seen many people candy their tails by painting over them and clear coating, but I wanted to have a more durable solution, so I painted them from the inside.
Tools:
-Phillips screwdriver
-flat screwdrivers / butter knife
-oven
-Welding gloves / hot pads
-scotchbright pad
-masking supplies
Parts:
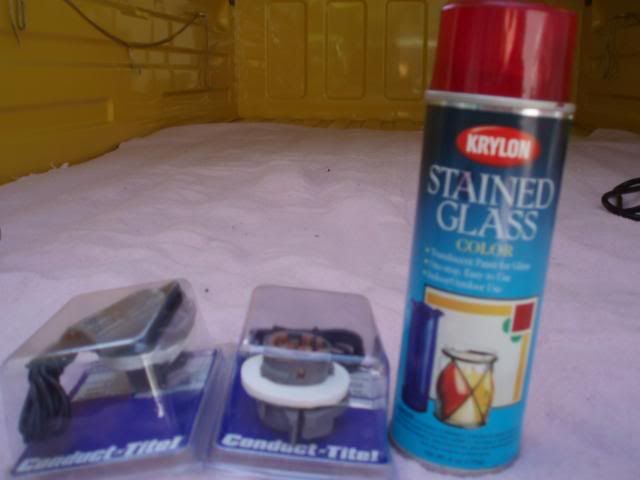
-silicone
-transparent red paint (I used Krylon Stained Glass)
Disclaimer! I will warn that putting your taillights in your oven can be dangerous and if you aren't careful they could melt! Keep an eye on them and don't overdo the heat setting.
Basically you will be baking your lights. Preheat your oven to a low temperature (180 or so, I suggest working your way up from a lower temp). Go to your truck and take your taillights out. Once they are out, remove anything you can (I.E. metal clips) and place them in your oven for 5-10 minutes.
Take them out and insert a small flat screwdriver between the lens and housing. You should be able to start to break the seal on the lights. If you cannot start separating them, increase the temp slightly. You will have to go around the entire length of the light to get them to come apart. You may need to repeat the baking process part way through. Now you have the lights apart.
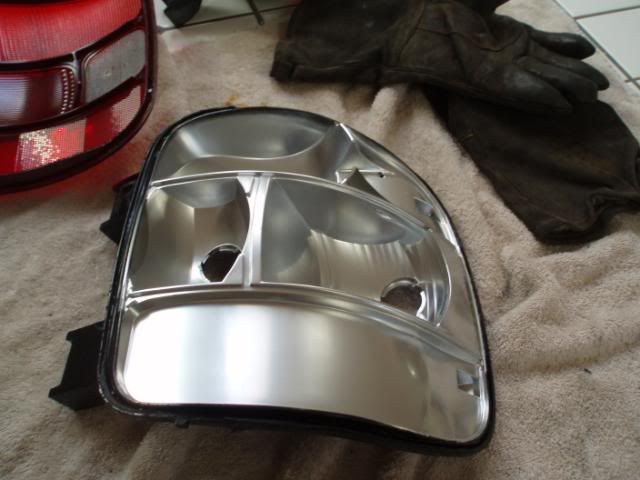
Once the light is in two, clean up the old silicone around the lens and reflector. Once that is done and they dry fit together easily, scuff the amber area up with a fine scotchbright pad and then wipe with paint de-greaser. Mask off the amber signal.
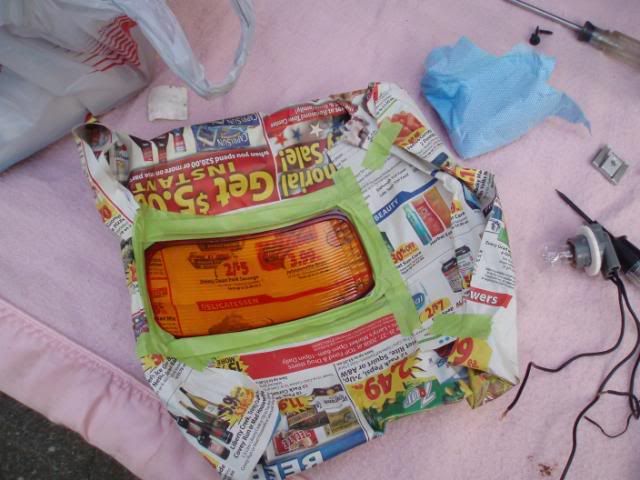
Now paint the area. I found the Krylon paint works best from about 18 inches to get the right color. I ended up re-doing both lights a few times, and the paint removes easily with mineral sprits shortly after you paint them. Once the paint is dry enough, silicone the housing and put the lens back in it. I put a chair on top of mine for an hour to hold it together.
Reinstall in your truck.
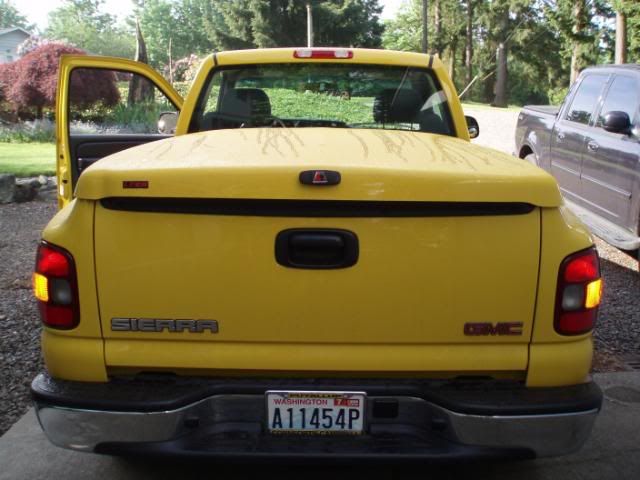
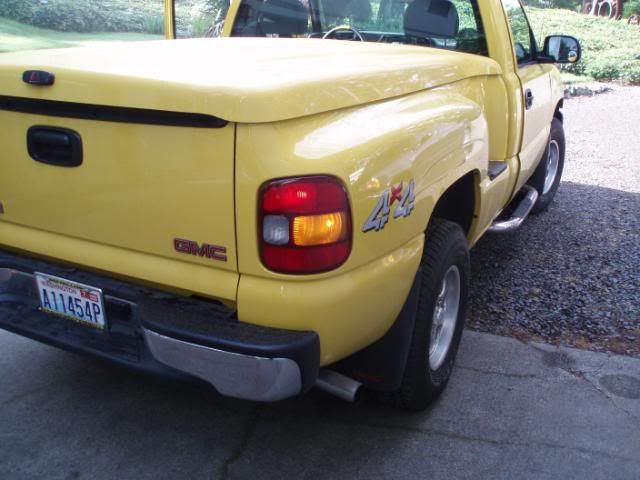
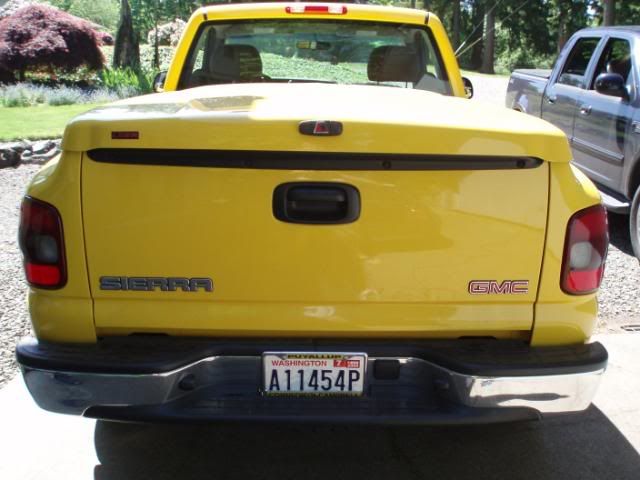
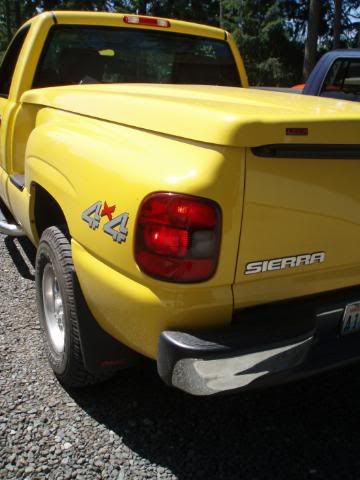
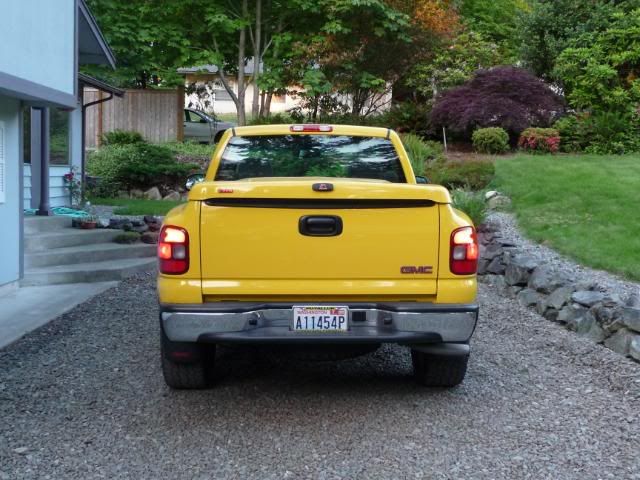
Finished Product (with parking lights on in signal housings)
Stock lights
First off, I don't care for Amber turn signals. I don't so much that I did this mod within the first 6 hours of owning the truck. I have seen many people candy their tails by painting over them and clear coating, but I wanted to have a more durable solution, so I painted them from the inside.
Tools:
-Phillips screwdriver
-flat screwdrivers / butter knife
-oven
-Welding gloves / hot pads
-scotchbright pad
-masking supplies
Parts:
-silicone
-transparent red paint (I used Krylon Stained Glass)
Disclaimer! I will warn that putting your taillights in your oven can be dangerous and if you aren't careful they could melt! Keep an eye on them and don't overdo the heat setting.
Basically you will be baking your lights. Preheat your oven to a low temperature (180 or so, I suggest working your way up from a lower temp). Go to your truck and take your taillights out. Once they are out, remove anything you can (I.E. metal clips) and place them in your oven for 5-10 minutes.
Take them out and insert a small flat screwdriver between the lens and housing. You should be able to start to break the seal on the lights. If you cannot start separating them, increase the temp slightly. You will have to go around the entire length of the light to get them to come apart. You may need to repeat the baking process part way through. Now you have the lights apart.
Once the light is in two, clean up the old silicone around the lens and reflector. Once that is done and they dry fit together easily, scuff the amber area up with a fine scotchbright pad and then wipe with paint de-greaser. Mask off the amber signal.
Now paint the area. I found the Krylon paint works best from about 18 inches to get the right color. I ended up re-doing both lights a few times, and the paint removes easily with mineral sprits shortly after you paint them. Once the paint is dry enough, silicone the housing and put the lens back in it. I put a chair on top of mine for an hour to hold it together.
Reinstall in your truck.
Finished Product (with parking lights on in signal housings)
